 |
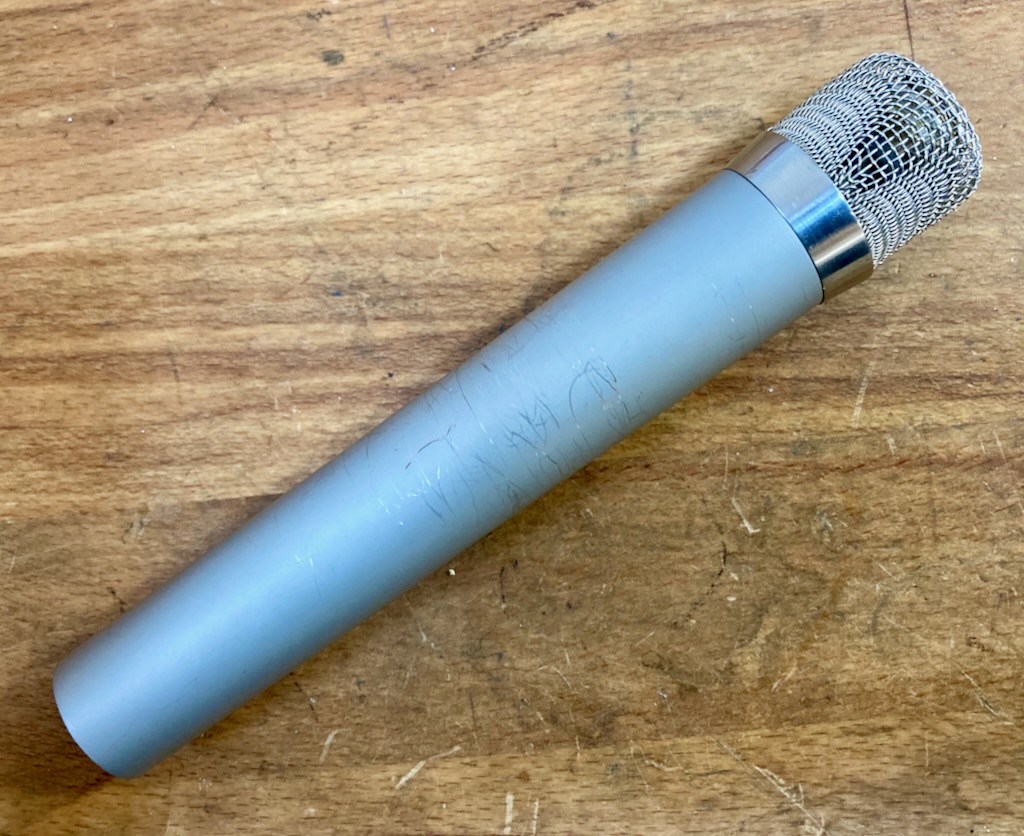
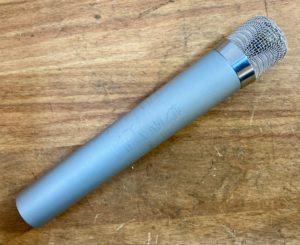
| STC 4136 microphone |
A long time ago I posted about the STC 4136 condenser microphone and how to modify it to work on standard 48V phantom power, using a small circuit built on perfboard.
 |
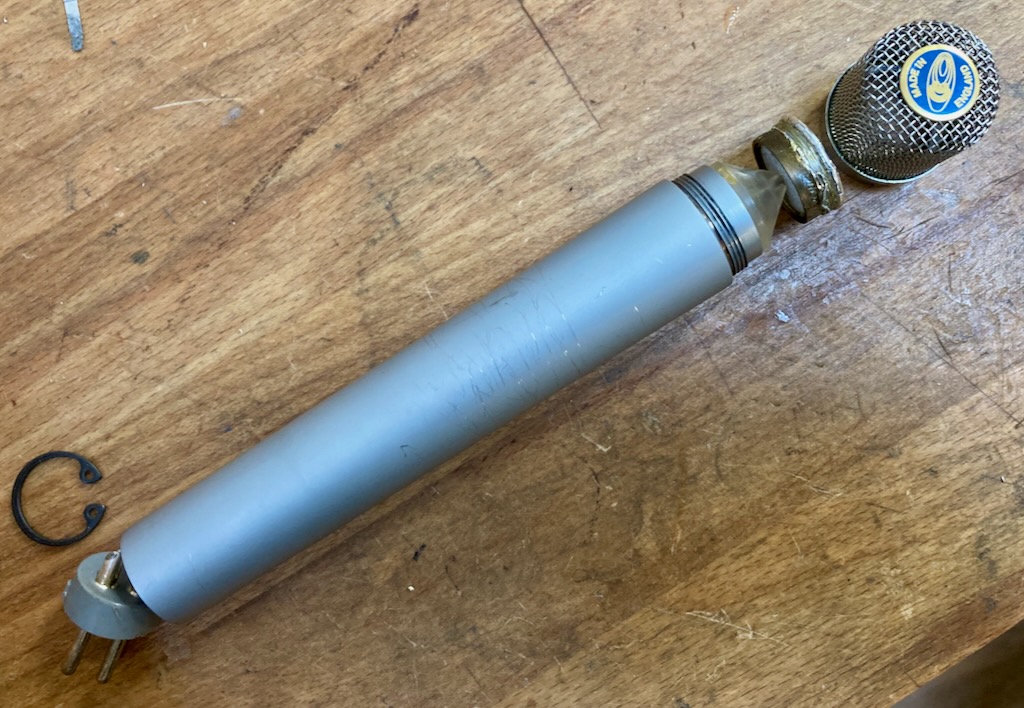
| STC 4136 microphone, in pieces. |
|
I had another opportunity to work on one of these microphones. This one was a challenge as it had no circuit inside at all, just the capsule and bodywork, although that also gave free scope to start from scratch.
|
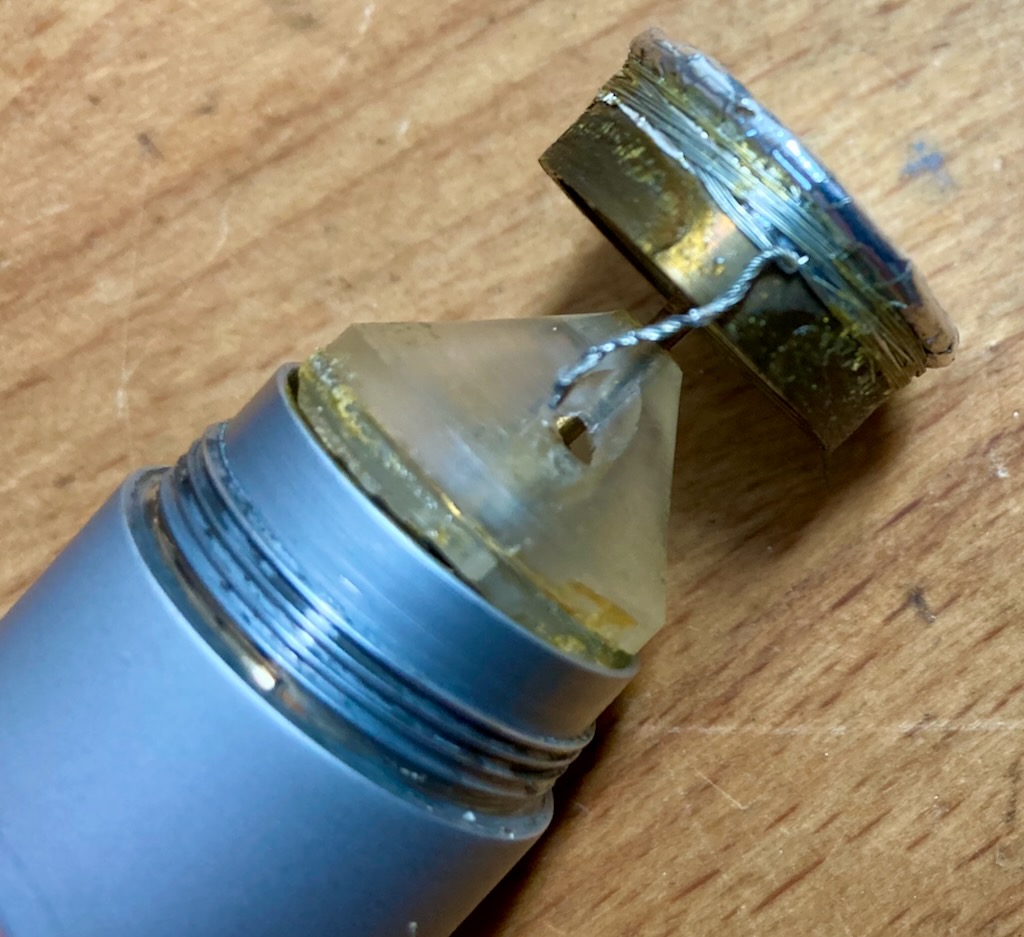
| STC 4136 microphone capsule. |
|
Space is tight in this microphone, but with a careful layout and small components everything will fit neatly. My solution for this one was to fit a small KM84 circuit and Neutrik NTE10/3 transformer. This transformer performs well, does not break the bank, and can be squeezed into tiny spaces where nothing else will go.
|
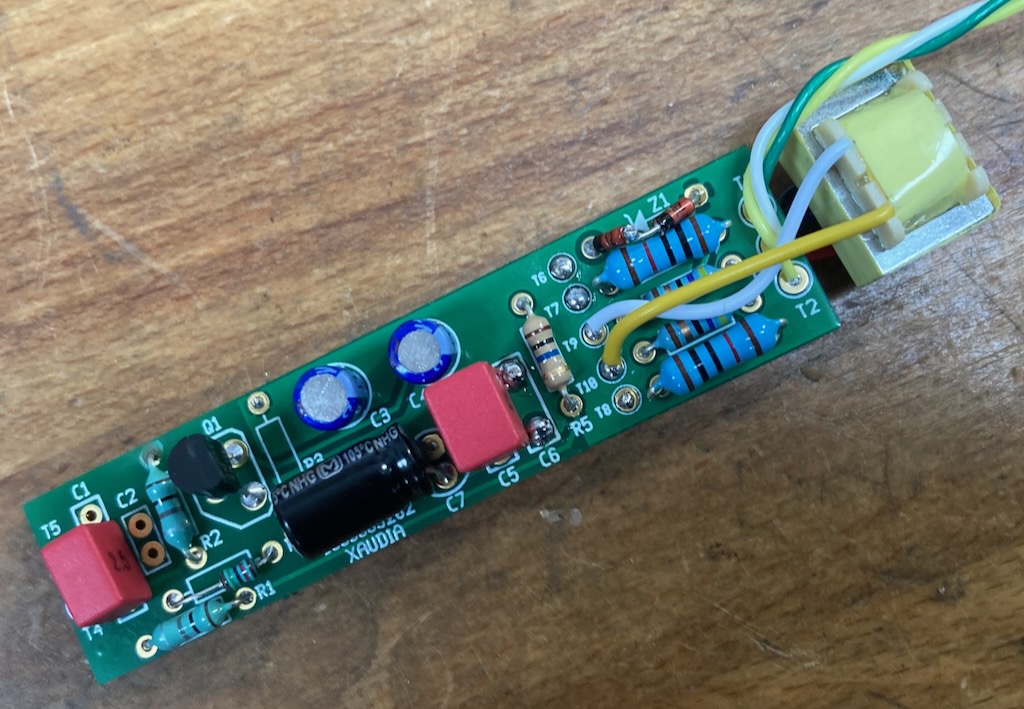
| New circuit board and transformer |
This time I commissioned a printed circuit board rather than working on perfboard, which does save time and look more professional. The board will be useful for other projects too – I have a handful of other small microphones which would benefit from updated, lower noise circuits.
|
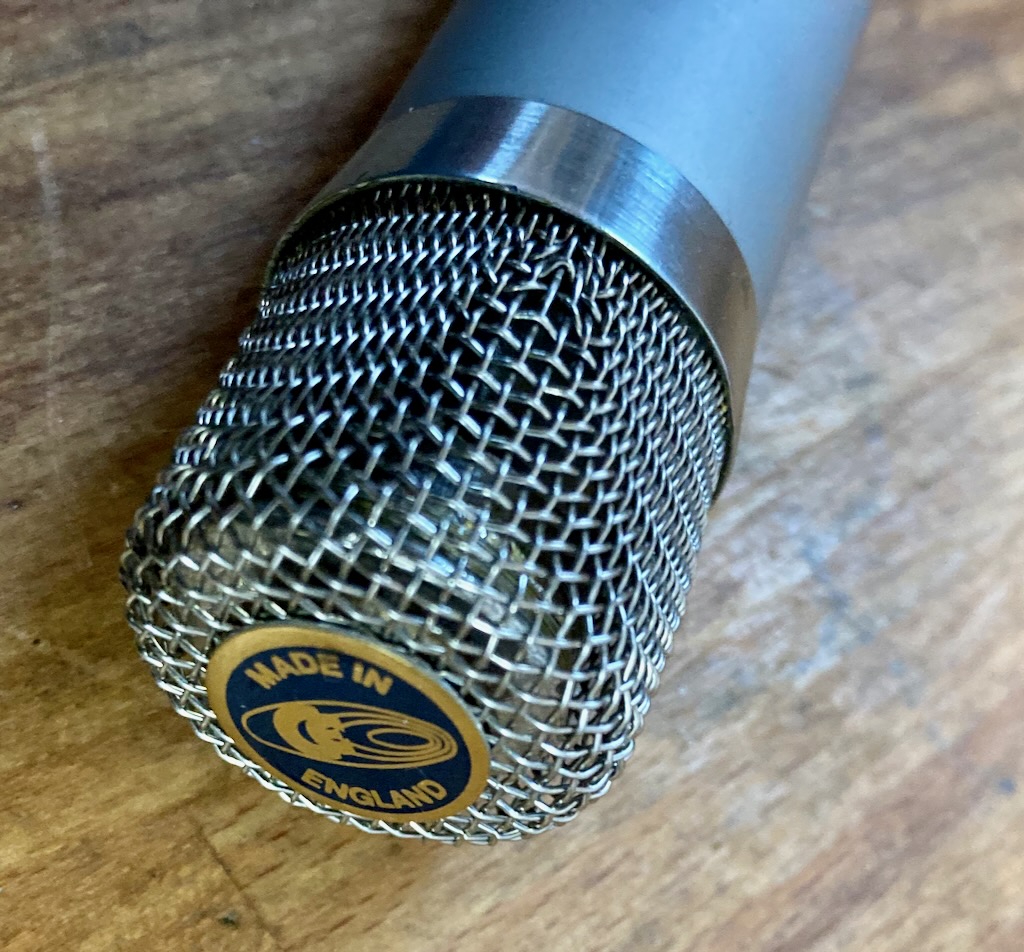
| Made in England |
Thanks to Robert at Russell Technologies for the board layout and advice.