The history books tell us that Alexander Graham Bell is famous for inventing the telephone – although even this is open to dispute.* He was awarded a US patent in 1876 for his invention, which used a pair of devices which became known as the ‘Gallows’ transmitter, because the electrical circuit is hung from a wooden frame. It is macabre nickname! The patent is dated 7th March 1876. Happy Birthday Telephone – you are 150 years old today!
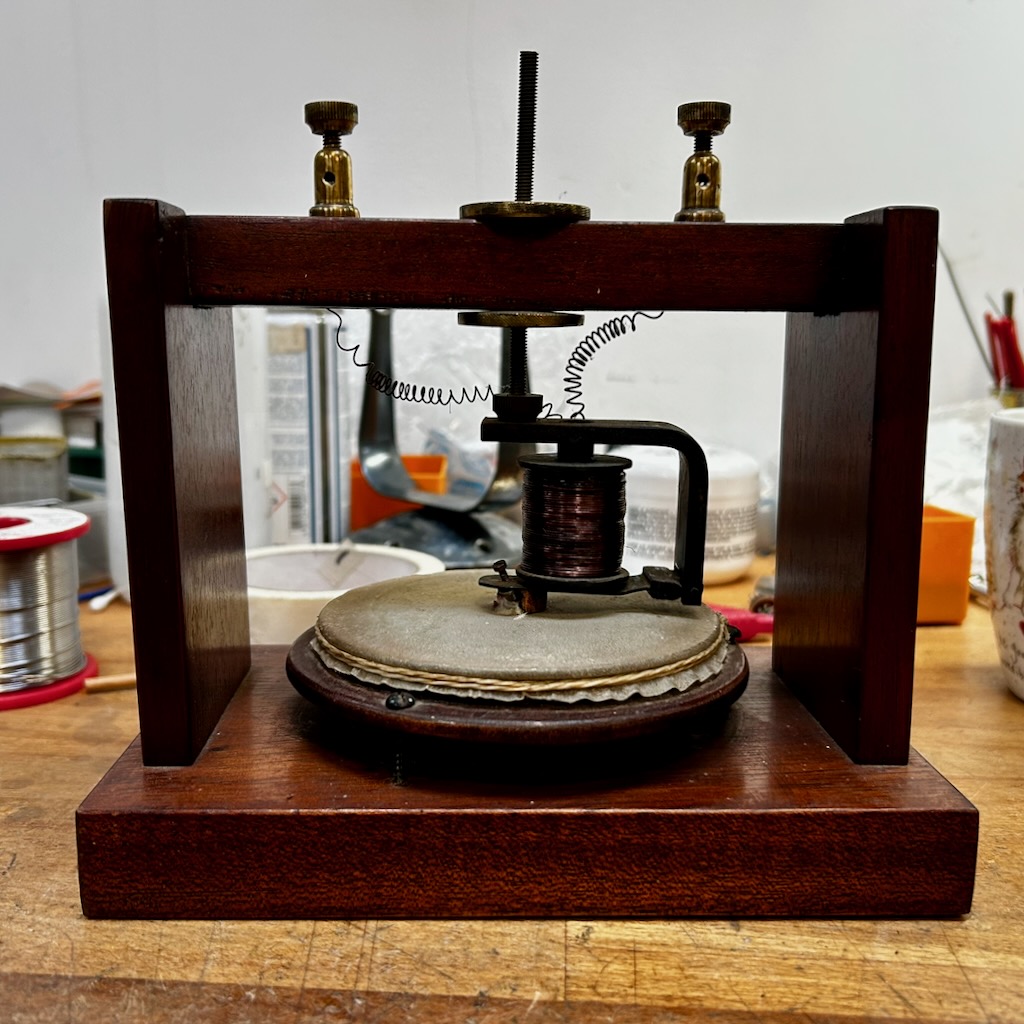
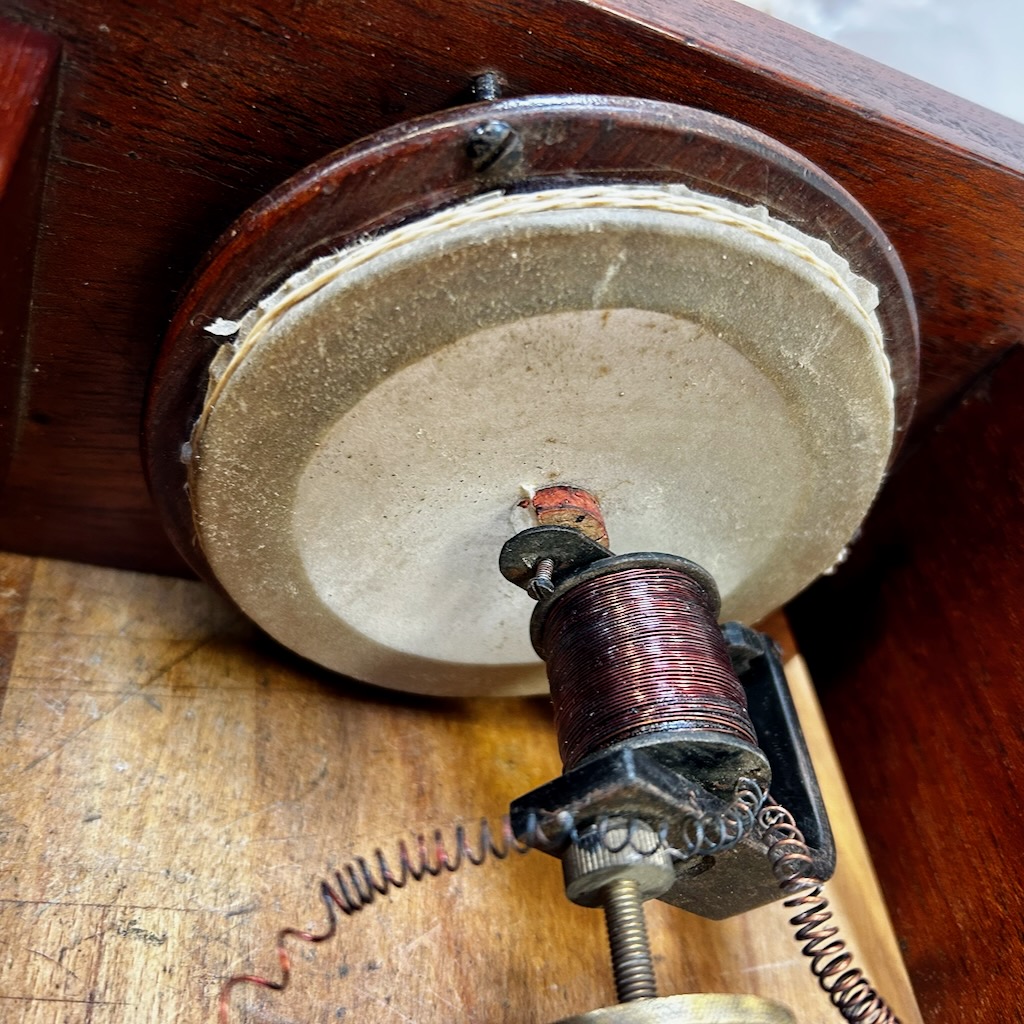
Bell’s transmitter consists of a membrane stretched tightly over a wooden hoop, a leaf spring and a coil of wire wound around a ferrous core which acts as an electromagnet and also as the receiver. The Gallows receiver operates as follows: the user speaks into the hole in the side of a wooden frame which is covered by a stretched diaphragm made of hide, much like the top of a drum. The sound waves vibrate the membrane. A piece of cork is glued to the centre of the skin which in turn moves a leaf spring or armature closer to the coil. This movement induces an alternating current (AC) signal in the coil, which would drive a receiver of a similar construction. The coil and leaf spring are similar to telegraph devices of the same era – it is essentially a telegram transmitter driven by a membrane.
By all accounts, Bell’s design transmitted sound but fell short of sending intelligible speech. Although the working principle is correct, all of the components seem far too heavy to pick up the required nuances. However, our own experiments show that with careful adjustment we can indeed record speech with this device, although it lacks sensitivity and the frequency response is peaky and very limited.
Repairing and adjusting the Bell Gallows Transmitter (BGT)
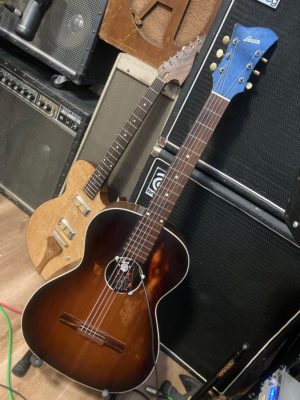
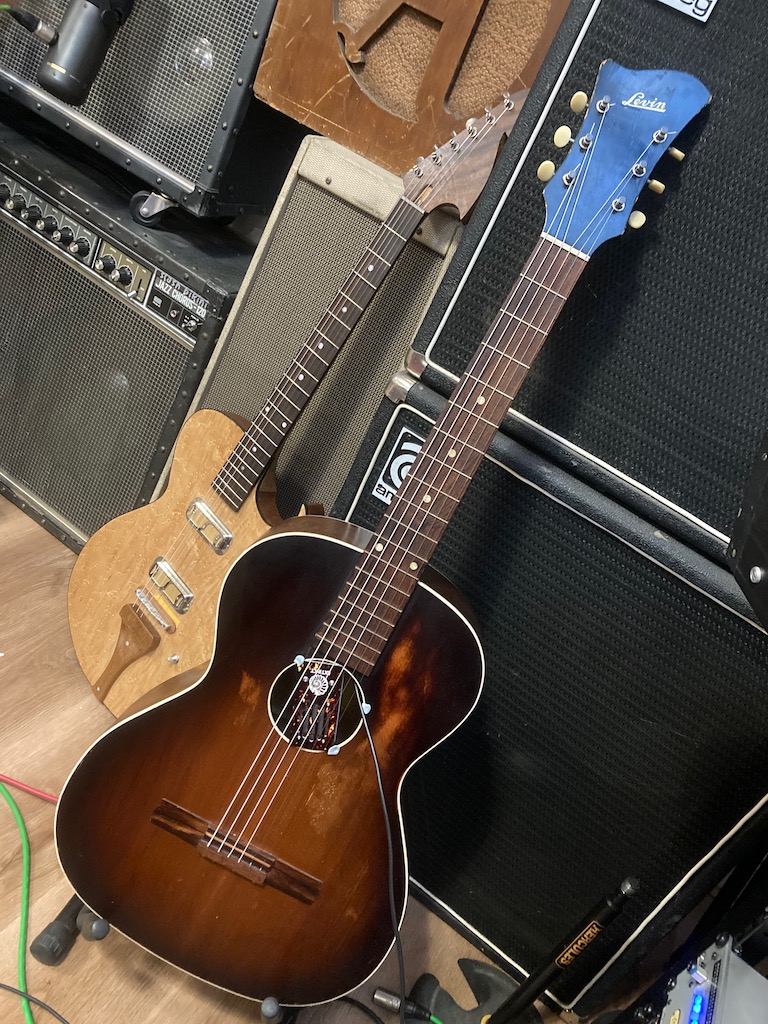
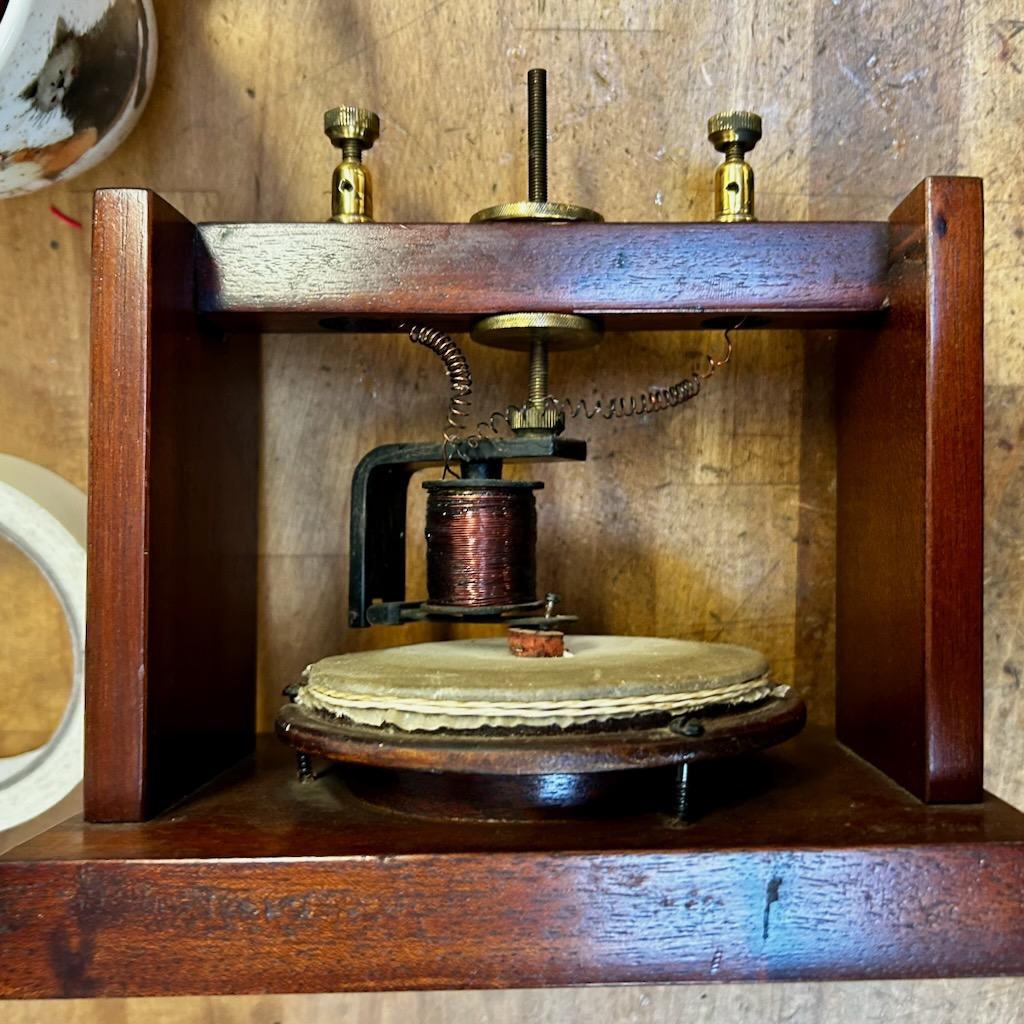
(By this point I’m getting tired of typing out the full name so let’s call it the BGT – not to be confused with your BLT sandwich). We have a BGT in our collection which I found on eBay for less than £100 and proved irresistible. It appears to be an antique replica, nicely made in mahogany and brass. However, on arrival the parchment skin was ripped and the cork was crumbling. I could get a weak signal out but it was impossible to tension the diaphragm which prevented further experiments.
Our friend James Yates from Majetone (https://majetone.com/) makes drum skins from parchment, and took a trip up to York to help repair the transmitter. Luckily, I have a good source of corks via the local wine shop! Between us we looked at the important parameters that could be adjusted and optimised. These are:
- Diaphragm tension
- Voltage across the coil (or current through it – one sets the other).
- The gap between the coil and the armature, when nothing is moving.
James set to work making a new diaphragm from vellum parchment. The skin is soaked in water and then stretched over a removable wooden ring, and held in place with wire. As the vellum dries, it shrinks and pulls itself tight over the ring. This is then fitted against a second wooden ring on the transmitter, and is further tensioned with three screws, much in the same way that a drum skin is tensioned against the rim of the drum’s shell.
The original design used a steel screw through the centre of the diaphragm, but we found that glue worked equally well without introducing a point of weakness in the diaphragm. The cork was glued to the centre of the ring, and in turn the armature is glued to the cork. The hardest part was being patient whilst everything set.
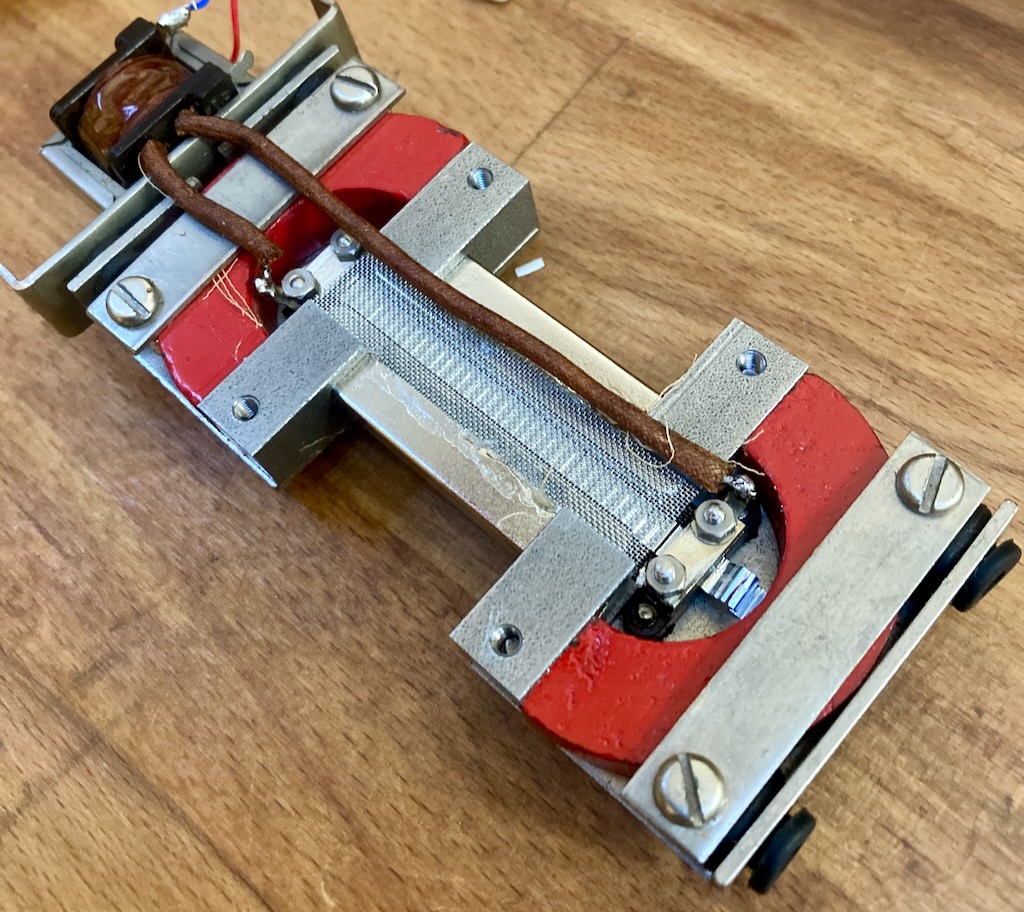
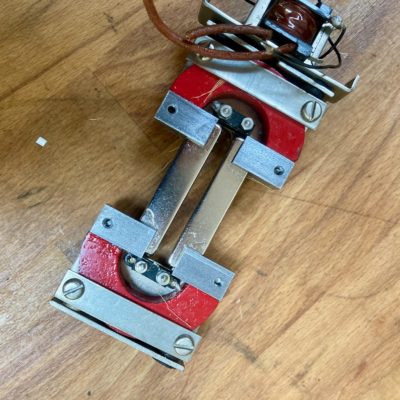
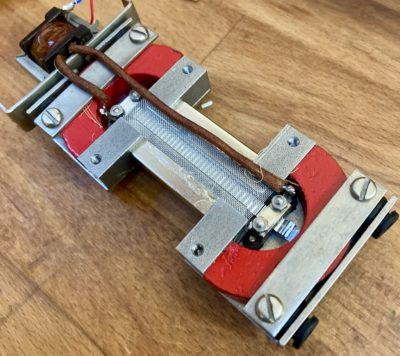
The coil is actually doing two jobs. Firstly, the coil is wound around a graphite(?) rod which together act as an electromagnet, so that when the armature moves, the magnetic field is perturbed. And secondly, when the flap moves, a signal is induced in the coil, so it acts as a receiver too.
We hacked together a crude electrical circuit from a gapped 1:1 transformer, battery and decade box so that we could adjust the voltage across the coil. If the voltage is too high then the magnetic field pulls the armature towards the core until it touches, locking it in place. But if the field is low then the induced signal will be lower. We found that the voltage across the coil was best kept below 3 volts to avoid locking. For our setup, this meant setting the decade box to around 100 ohms.
A set of spark plug feeler gauges was used to measure the gap, which is set by adjusting the two large brass thumb wheels that secure the coil to the gallows frame. Ideally the armature can move freely as close as possible to the coil, but without banging into it or sticking to the magnet. We found that a gap of between 0.2 and 0.4 mm gave best results for speech.
Note that all these three adjustments are interdependent. Increasing the voltage pulls the armature towards the coil, which is resisted by the tension of the diaphragm.
How does it sound?
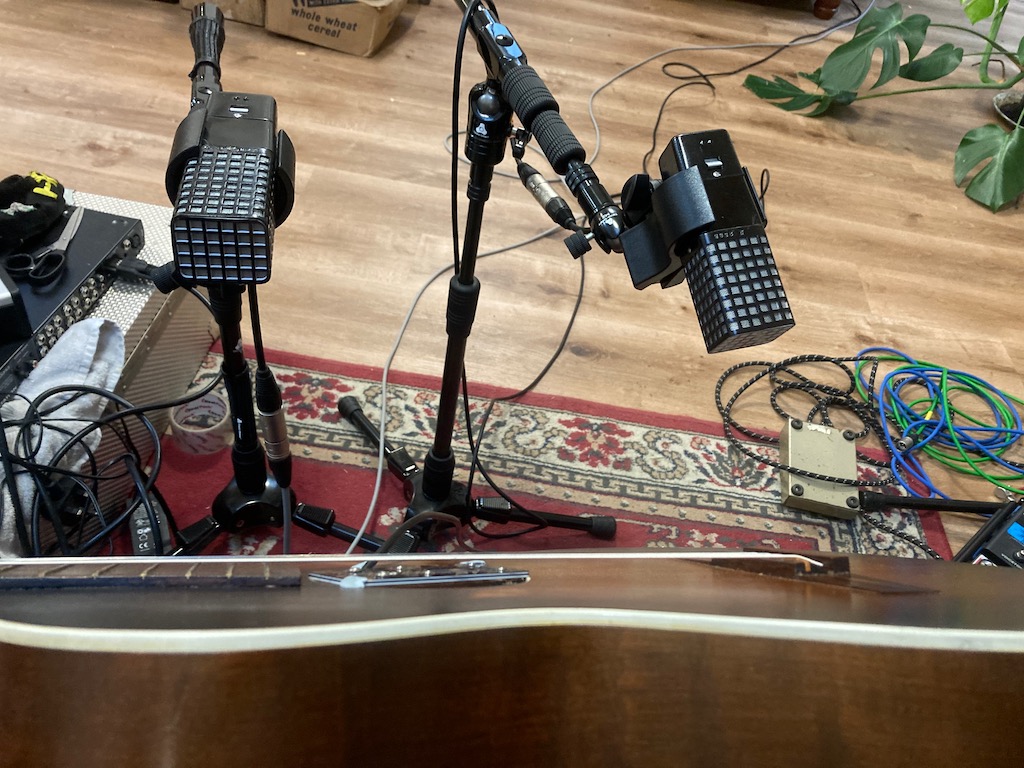
We connected the output from the transformer to a balanced microphone input on a UA Volt 2 interface, and spoke loudly into the diapghragm. The recordings are below, along with a frequency response chart.
The sound is somewhat muffled and very peaky, but the voices are just about intelligible.
James took the BGT home to record his drum kit – you can watch and see that here…
And James has posted a full length video about the BGT here…
As an aside, building a replica of the BGT would make a tremendous multi-disciplinary schools or undergraduate project, as it involves elements of physics, electronics, design, woodworking and of course some history too. Bell originally used a wet-cell battery so one could also add chemistry to that list.