AKG DX11 microphone… with reverb!

You can easily imagine the product development meeting at AKG back in nineteensixtysomething…

Or something like that. It is certainly true that AKG made some great microphones (too many to list) and a lot of nasty ones (also too many to list). The AKG BX10 and BX20 spring reverbs have become studio classics. And so if any company was well positioned to make a microphone with a built in reverb, it  had to be AKG. The result is the AGK BX11, which is a battery powered dynamic microphone with a built in single spring reverb and a battery powered circuit which uses five germanium transistors to amplify the signal and drive the reverb spring.

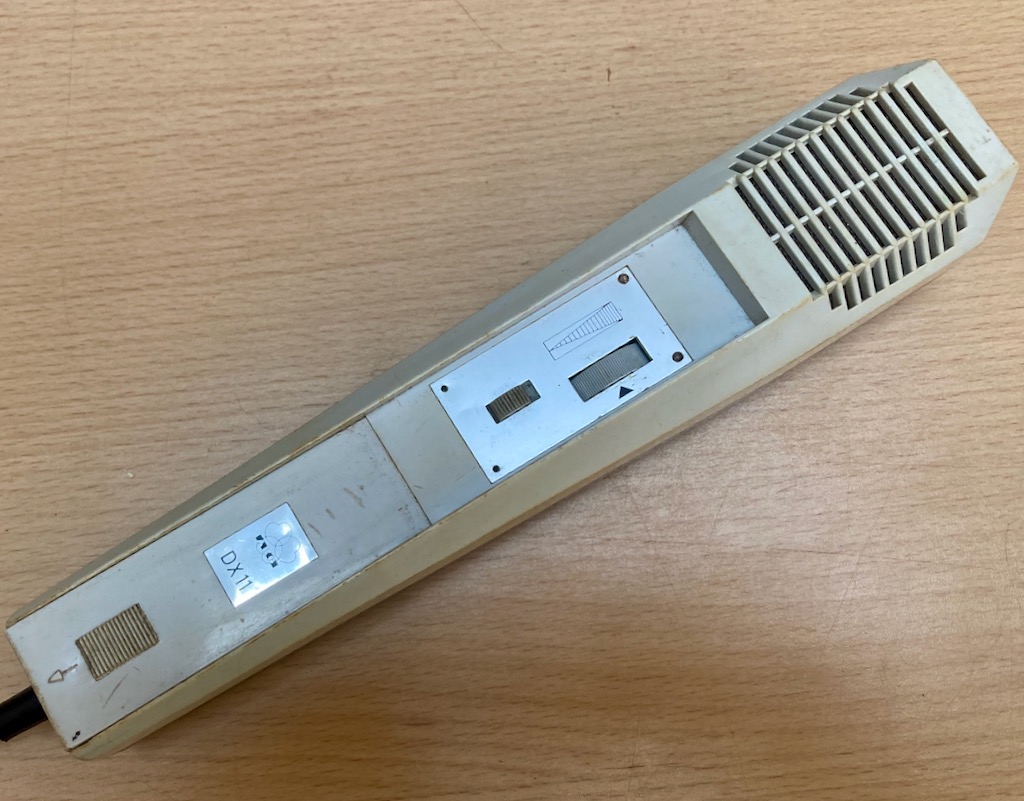
AKG DX11 echo microphone

There are some major shortcomings to this design. It is impossible to use this as a hand held microphone because the spring just rattles around. The microphone capsule is not great quality, battery life is short and the germanium transistor circuit is noisy. And although the microphone element is certainly not of hi-fi quality, and the spring is ‘boingy’ rather than lush, none of that matters because it is quirky and fun and offers something unique. 

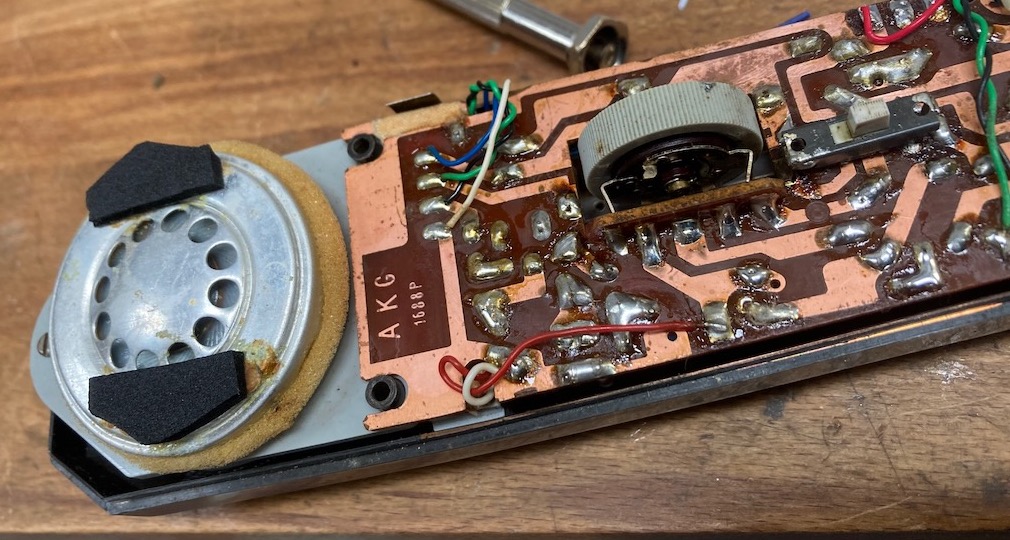
AKG DX11 capsule and circuit board

The owner of this one had enquired about converting the mic to run on phantom power, but that was not trivial because the circuit has a positive ground, and I also had doubts over whether we could supply sufficient current with phantom. The output of the microphone of the DX11 is unbalanced 15K ohms or unbalanced 200 ohms. 

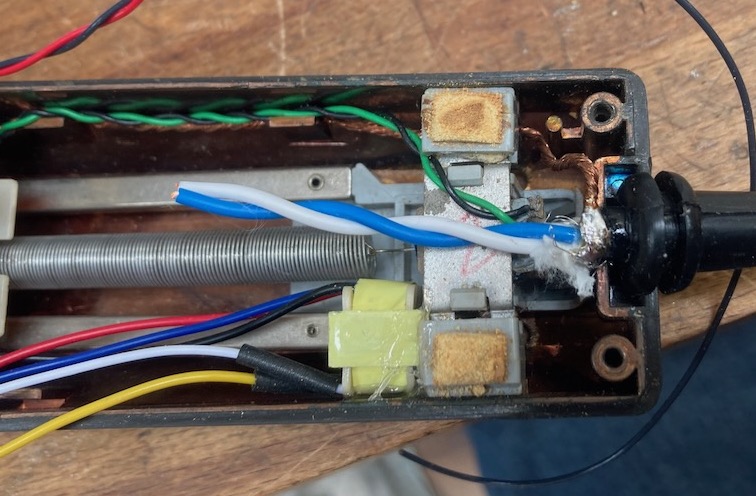
AKG DX11 spring reverb

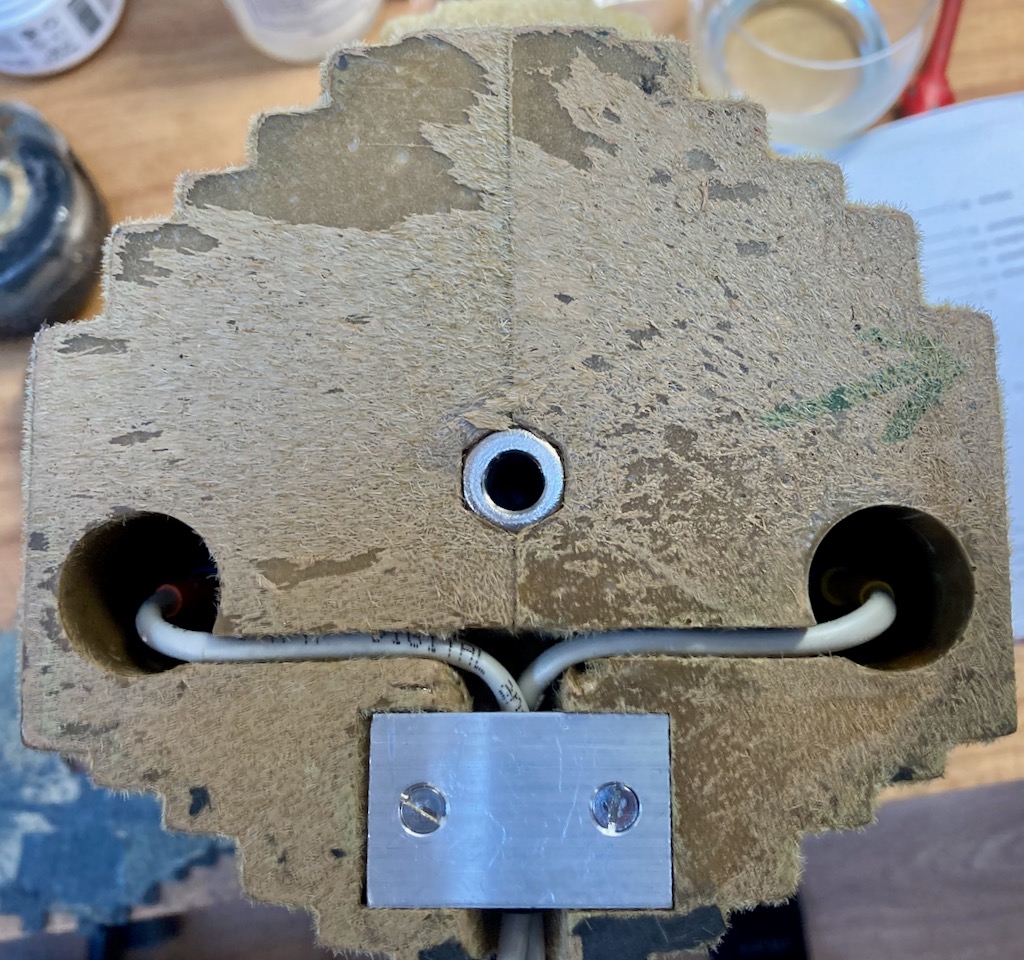
I added a small Neutrik 10:1 transformer to drop the unbalanced 15K output down to a balanced 150 ohms*, which makes it a bit more compatible with mic preamps and mixers, and wired to a normal balanced XLR output. The transformer fitted in neatly in the cavity behind the capsule. (*You could use a 1;1 transformer from the 200 ohm output).

Schematic for AKG BX11 Echo mic
DX11 circuit hacks – Click on the image to see a bigger version.

After a bit of initial testing, I came to the conclusion that reverb is better than the microphone, and so, after a discussion with the owner, we decided to fit a line input to the reverb circuit. The microphone capsule itself has a measured output of 250 ohms, so it was easy to hack into the circuit at that point, via a switched mini-jack socket. Now one can run other things into the reverb, such as a better dynamic or ribbon mic, a quiet line input or a guitar via a DI box. 

Here is a picture of Adam from Extinct Audio test-driving the DX11 reverb (on the bench) with a Jazzmaster guitar…

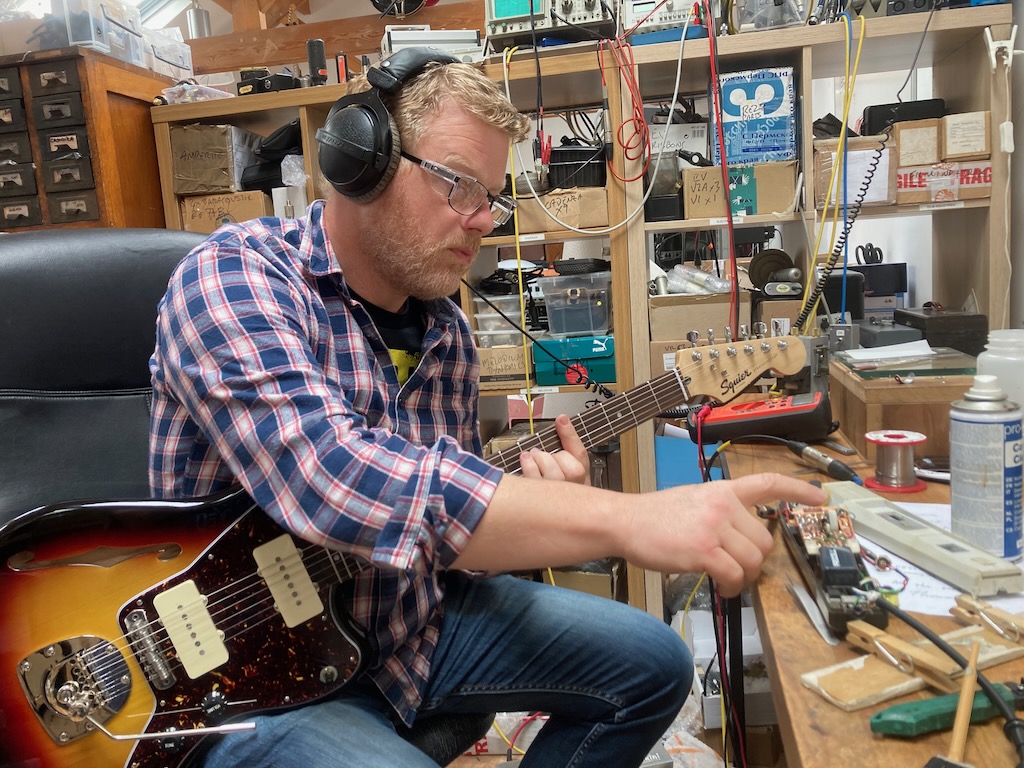
I hope to share some sound clips soon.

Further reading

Vintage Microphone World

Hi-Fi Archive – advert for the DX11

Review of the DX11 in EQ magazine

AKG D99c manual


Here is the German language manual for the AKG D99c, also known as Harry.


An English translation courtesy of Google…

Our first artificial heads for experimental stereo listening were made in 1949

The Physics Institute of the University of Budapest conducted experimental tests. Many years of well-founded knowledge of the physical and physiological relationships of human hearing and the experience as a specialist company for electroacoustics have enabled us to make a noteworthy contribution to the artificial head stereo microphone, which has become current again, with the series production of a recording head within a short time. 

The interest of a large circle of committed tape fans and serious amateurs in an inexpensive one, which has recently been aroused by many press reports and extremely positively rated AKG demonstrations among trade visitors. We can now match the artificial head for stereo recordings with the AKG D99c stereo recording head, which is available now.

The material structure of the head and shape of the ear cups, in conjunction with a simplified but acoustically effective simulation of the ear canals in connection with the two special dynamic transducer systems integrated in the head, are tailored to an optimal recording [which is] analogous to human hearing.

When listening through high-quality headphones – regardless of whether closed or open earphones are used – the listener experiences an intensive acoustic sense of space that cannot be achieved when recording with two individual microphones. 

The artificial head as a physical structure itself is above all a prerequisite for the natural occurrence of the factors that determine the spatial impression, such as the difference in intensity, the difference in transit time and the frequency-dependent shadowing effect from one ear to the other. 

The AKG D99c stereo recording head, with its optimally designed frequency response (it must be viewed with different criteria than usual microphones), always ensures consistent objective recording properties and can be used as a “double”, so to speak, where you need to keep your own head free for directing.

The stereo artificial head recording is particularly interesting where moving sound events are involved. For example, playing, singing children, lively design of radio plays or reports; also outdoors, for example with passing cars, noises in the background and much more. 

A further aspect: when recording conferences, it is easily possible for the listening recording clerk to concentrate on a specific speaker and to record his words due to the acoustic-spatial localisation. The spatially lively playback effect of the AKG stereo recording head D99c can be achieved with any AKG stereo headphones of your choice, regardless of whether the recording comes to the listener live via an amplifier or, as a tape recording, is listened to afterwards.

Technical specifications:

Frequency Range: 50-12500Hz

Sensitivity: 2.0mV/Pa = 0.20mV/ubar/channel

Impedance: 600 ohms per channel

Channel deviation: <3 dB for the entire transmission range

Optimum recording height by using an AKG floor stand.

Harry the Head – modification to condenser mics

The AKG D99C is a binaural dummy head microphone, often known as ‘Harry the Head’ or just plain Harry. Like me, Harry was born in the 1970s and still looks good for his age, albeit with a slightly fuzzy finish (which presumably is to reduce reflections). Inside his head there are two rather basic dynamic microphone which point upwards towards the vents in his ears.Harry may look good but many of his kind sound disappointing and the sensitivity is low. My own D99C sounded particularly poor with a lack of low end response and a sort of crunchy mid range. 

Harry the Head, or AKG99C to his friends

And so here is an easy way to improve the sound and sensitivity – fitting two small omnidirectional condenser mics inside will make Harry much more useable. What is more, this modification is completely reversible. You can go back to the former crunchy lo-fi tones or retain the vintage value for a collector in the future. 

Audio Technica ES945. Remove the grills and mounting nuts

For the upgrade I used two Audio-Technica ES945* boundary condenser microphones, which can be found used for reasonable prices (I paid £33 each on ebay) and I made up two short and skinny XLR cables. You will also need some needle-nose pliers and a screwdriver.  Let’s go!

Microphones, cable and aluminium strain relief 

Carefully peel off the base of the head, using a scalpel if needed to remove the glue. You can see two screws that secure the cable strain relief. Undo these. Remove the two circlips which hold the microphones in place. Then pull out the whole assembly of cables and two dynamic microphones.

End view of the AKG dynamic mics.

Undo the three small screws that hold the grill of the boundary mic in place and remove the grill. Also take of the big nut and rubber mounts if they are still attached. The mic is a little too narrow in diameter and I put a layer of heat string around it, but you could use some tape here. This stops the mic from rattling and moving around.

Then fit the cables and push the microphones into the holes in the head. You will notice that the mics are at 90 degrees to the ear-holes.

New mic with shrink sleeve and XLR cable attached.

The next thing to note is that the position of the microphones is critical to the sound. If you push them too deep past the ear vents then the microphone is essentially blocked and sounds tinny and horrible. But too gar below the vent it will sound hollow. I placed them by ear (sorry for the pun), listening as I moved the mics up and down, and settling for an optimum position. just below the ear vent.

Approximate position of the microphone inside Harry’s head.

Once the mics are in position, thread the cables through the channels in the bottom of the head. You can replace the cable clamp if you wish, although that will require unsoldering the cables. (I used a hacksaw here to liberate the cables!). Then stick the base of the mic back on and the job is done. Now it is time to go out and record something.

Routing of the XLR wires under Harry

Personally I think that the AKG D99c, with it’s cubist styling, is the best looking binaural head microphone, although the Neumann KU100 at £6800 GBP must surely be a better microphone!  

Whether binaural recordings sound better or worse than spaced pairs or every other kind of stereo recording is a discussion for another day. 

* I am sure that other models of boundary mics would work here just as well or better. I can imagine using a couple of Oktava MK012s with omni capsules, or even a pair of 451s if you want to stay with the AKG brand. Perhaps we should consider Harry to be a microphone holder, rather than just a microphone.

Here is the German language manual for Harry, along with a translation (by google, sorry).

You can read more about Harry at Vintage Microphone World.

Update 26 August – this post has been called ‘Sacrilege’ by Heinbach… “I call sacrilege. The grainy tone of Harry is part of its Charm.”