The Xaudia Blog

Mount-a-Mic assembly instructions

Here is a step-by-step guide to assemble an Xaudia Mount-a-Mic cable:
1. Make sure you have all the parts.

2. Strip and prepare the cable ends ready for soldering. Push through the Mount-a-Mic adapter

3. Solder the female XLR connector. We recommend connecting the barrel lug to pin 1.

4. Fit the plastic strain-relief

5. Slide the metal barrel over the plastic parts

6. Slowly screw the barrel into the adapter, allowing the cable to rotate freely as you go. 

7. Fit your choice of connector to the other end, and enjoy!

Mount-A-Mic adapters from Xaudia

Have you ever struggled to find the right clip or mount to put a microphone on a stand? Here is a solution: the Mount-a-Mic adapter from Xaudia.
Xaudia – Mount-a-Mic assembled cable

This simple yet cunning gizmo is designed to convert XLR plugs so that they can be screwed onto a 5/8” mic stand.

Mount-a-Mic adapter from Xaudia

The Mount-A-Mic adapter simply replaces the cable gland on Neutrik XLR plugs. The cable now exits through the side, and the assembly can be attached to the mic stand.

Then just plug the mic in, and go! You can now put almost any microphone on your stand, so long as it has an XLR plug.  Great for Geffell….

And a Neumann is no problem!

Here are some assembly instructions for those who wish to make their own cables.

New RCA thread adapters

We have some shiny new thread adapters for RCA microphones.  These thread adapters fit most of the ‘big’ vintage RCA microphones, including the 44, 74b, and 77 ranges, and also are perfect for Sony professional mics, including the C38b and C48 microphones.

We have been selling thread adapters for a while but the latest batch are a step up in quality. They are machined from solid brass and have a standard 3/8″ female thread that will fit most modern mic stands. They can also be supplied with 5/8″ on request.

It fits this RCA77B perfectly.

These fit the following microphones….
Most RCA 44, PB140, PB144, 74b, 77B, 77DX, MI-4010-A, BK-11.
Some (but not all) models of the RCA Varacoustic.
Sony C38, C48, FV300, Some C37s.
Many Aiwa, Toshiba and Matsushita ribbon mics
Syncron / Fairchild AU7a
Some older Amperite mics

Please ask about your microphone.

Electrovoice V2 revisited

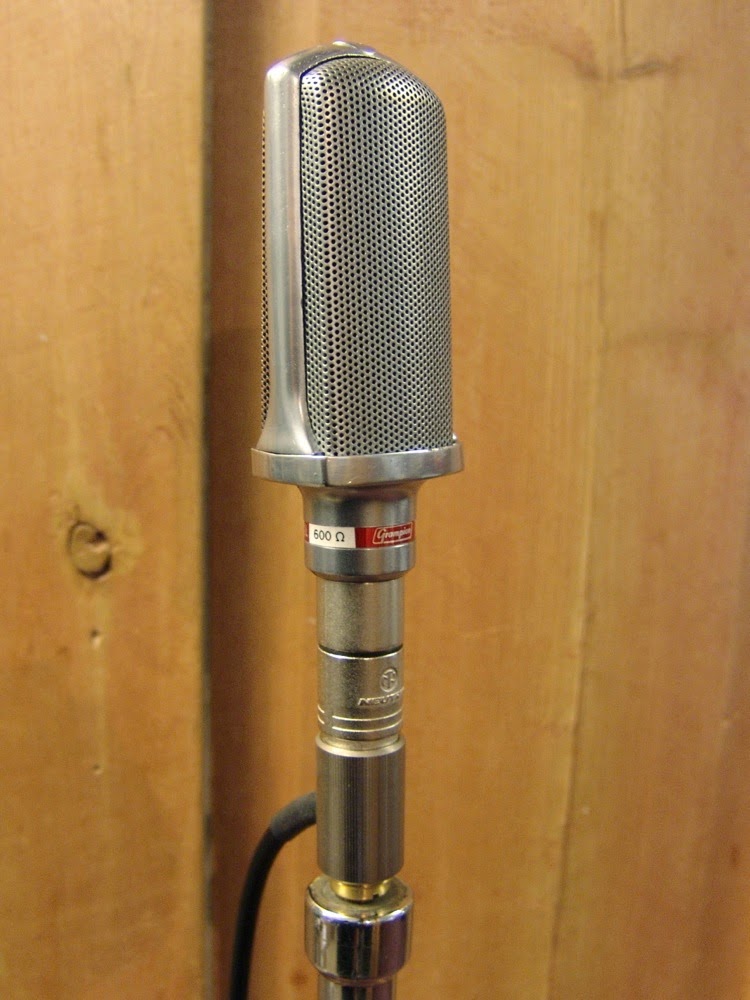
These old Elctrovoice ribbon mics look great but sadly the sound rarely lives up to expectations.

I have worked on a few of these over the years and there are several things that let these microphones down – happily they can all be sorted out with a bit of thought.

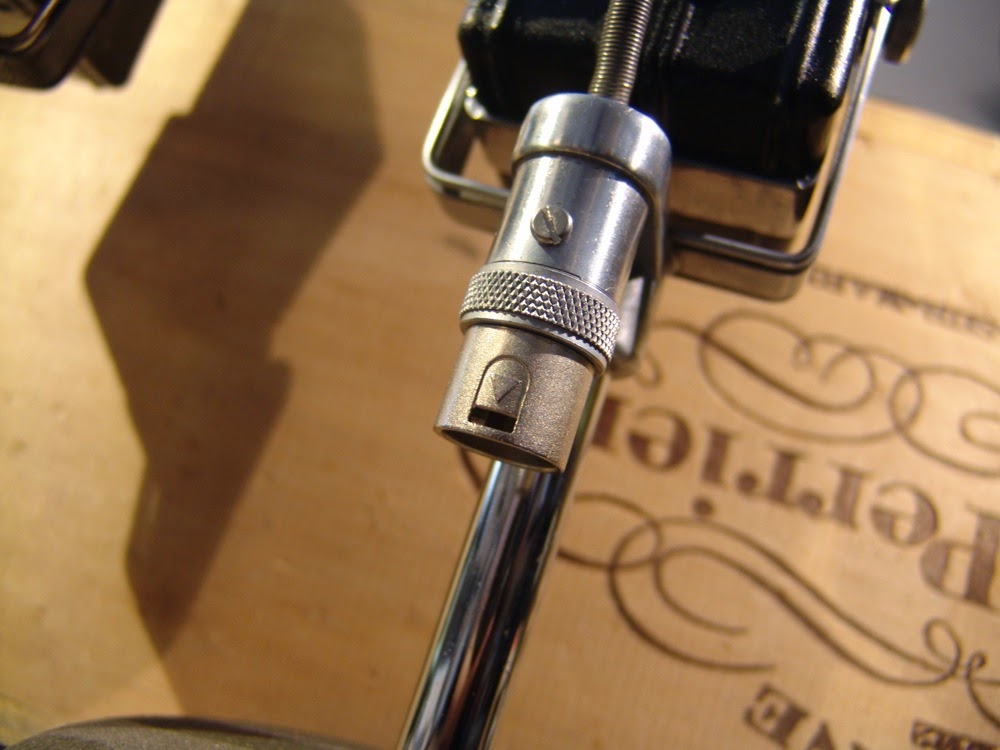
EV V2 clamp with through-ribbon bolt!

Firstly, and perhaps most annoying are the ribbon clamps. EV used thin plastic clamps to insulate the ribbon from the body of the mic, and the ribbon is secured by a central screw that goes straight through the ribbon. The old EV ribbons are quite thick and were supplied with (even thicker) copper end terminals,  so that they could just be screwed in place. One problem is that tightening the screw twists the ribbon, pulling it into the side walls of the motor. It also does not make very good electrical contact, especially with a new thin aluminium ribbon. And the clamps are flexible too so the ribbon is not held securely.

New ribbon silver clamp

A better solution is to make new stiff metal clamps. These could be made from plated brass but I tend to use solid sterling silver to avoid the need for a plating process. One clamp must still be insulated from the body of the microphone to avoid shorting out the ribbon.
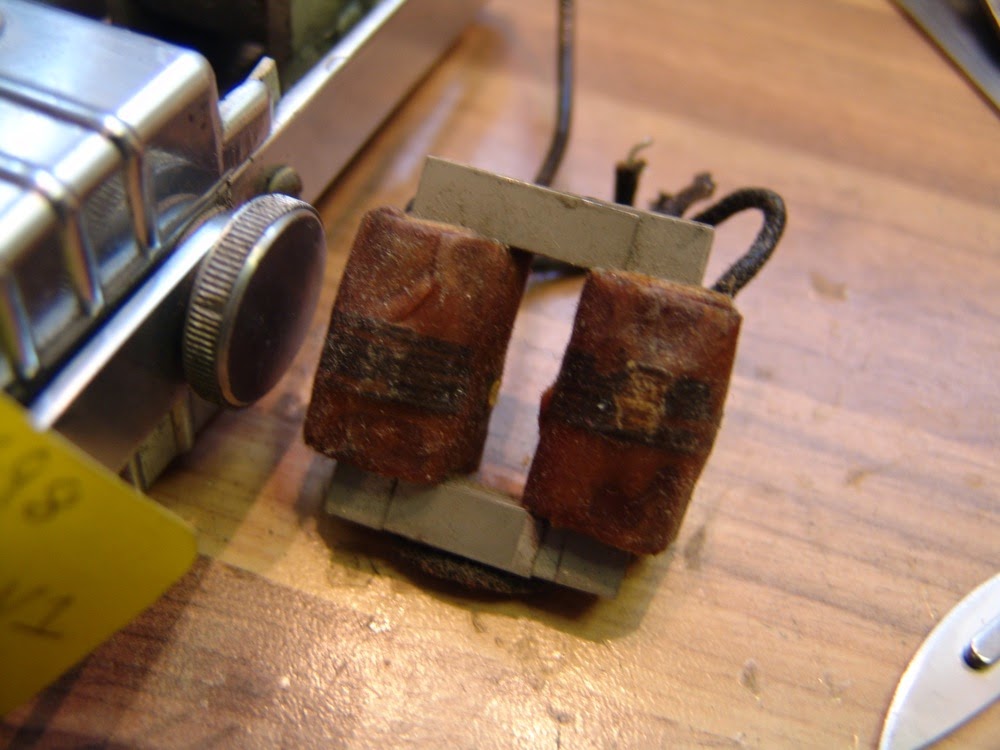
Rusty old magnet.

The next problem is the weak magnetic field. Replacing the old magnet with a new neodynium one can boost the field around five-fold, which gives a corresponding increase in output. With stronger magnets the steel screws can jump into the ribbon gap and wreck a new ribbon, so it is best to swap the screws out to some brass or stainless ones.

EV V2 transformer.

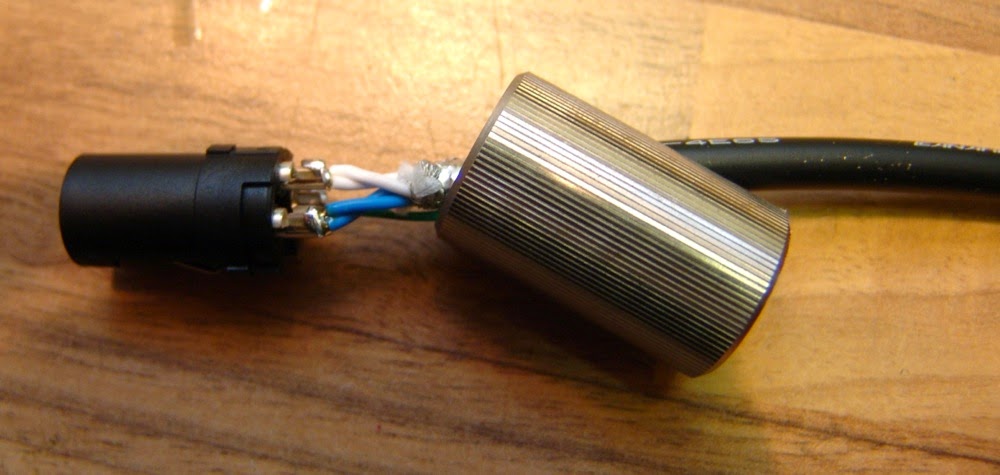
The old transformers are not great and lack bass but that’s an easy thing to sort out! And finally the old plugs are getting hard to find so we can put an XLR on the rear.

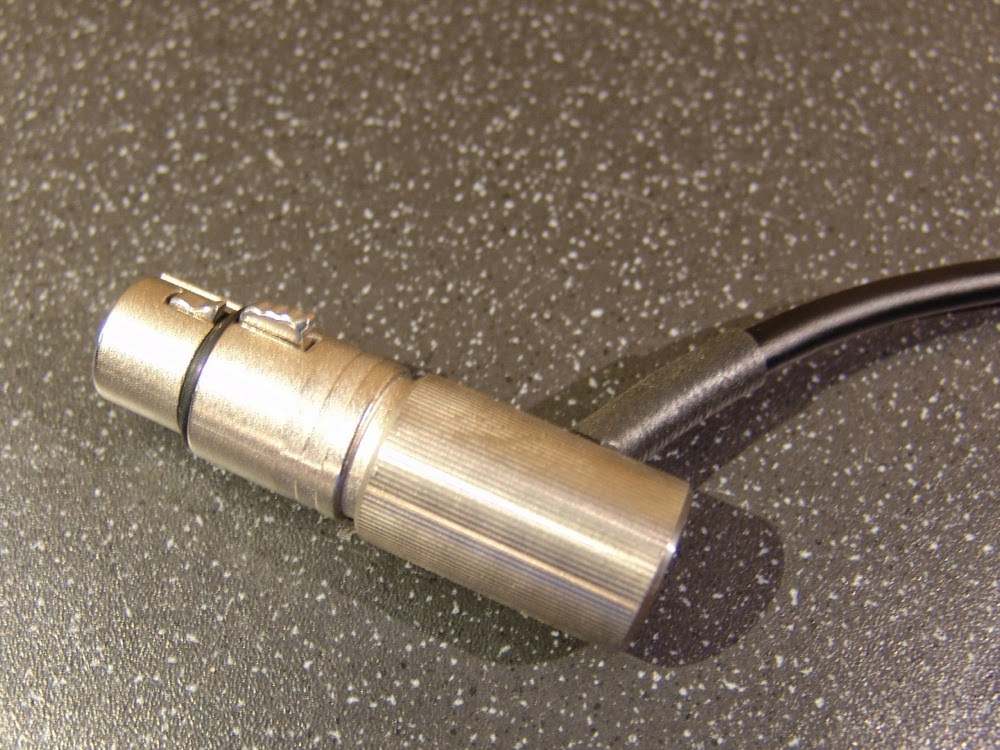
XLR fitted to EV ribbon mic

Voila! With new clamps, ribbon and magnet we have a healthy signal with plenty of bottom end!

The world’s smallest ribbon mic?

Is this the world’s smallest ribbon microphone mechanism?

The Beyer M560n(c) has a motor measuring just 33 mm long and 10 mm deep, which fits into the mouthpiece of a headset.

The tiny transformer is mounted at the other end of the microphone. The mic is clearly designed for close speech and the transformer has a very low inductance (35 µH at 1 kHz), which gives a bass roll off to compensate proximity effect.

Despite its small size, it was not much more difficult to repair than some other Beyer mics. Here is the motor with a new ribbon, ready to go again….

If you know of a smaller ribbon motor, then get in touch!

Pimp my microphone!

Here are some upgraded, modified and generally pimped mics that we have put together for customers.

In each case the microphone gets a new ribbon, upgrade transformer and a few other tweaks, along with a shiny new badge.

I will leave the reader to guess the identities of the donor mics. 
🙂

Transformer boxes

Here are our updated transformer boxes, looking smart with a new metal badge and hammertone paint. They come in a rugged metal box with Neutik XLR connectors at each end for easy use.
These little gadgets are perfect for interfacing old 30 and 50 ohm microphones to modern equipment that expects to see 200 to 600 ohm microphones, and can give an increased output of up to around 12 dB, which is welcome for older ribbon mics.

They are available in a range of ratios, and our most popular model is the 50 Ω to 600 Ω box, which is ideal for Melodium 42B, STC 4033, and Western Electric /  Altec 639 ‘birdcage’ microphones.

These can be supplied to order in almost any required ratio to match your microphone. 

Melodium 42B XLR mod

The old Melodium 3 pin plugs are getting very hard to find, and quite expensive when they do show up. This is a pragmatic approach to the problem, and allows an XLR to be connected directly….

The Switchcraft connector could be painted to match the mic, but I don’t mind the nickel either.

A mount for an STC 4017 dynamic mic

A customer asked me to make a mount for his STC 4017 dynamic mic without modifying the microphone itself. Often these come with a handle or a threaded stud for mounting, but this one came with nothing at all.

My first thought was to make some kind of ring clamp, but that would require a large diameter brass tube and was starting to look quite expensive and bulky. So I came up with this…

It is simply a folded strip of aluminium screwed to a threaded brass cylinder. The bass of the cylinder is threaded to fit a 5/8″ mic stand. The mic slides into a slot in the aluminium and is held by its own ground clamp.

Some shrink sleeve ensures that the signal outputs are not shorted by the new mount.

Voila!

What’s inside a Beyerdynamic M260?

This is what happens when one dissects a couple of Beyerdynamic ribbon mics: bodies, grills, motors, transformers, XLR or DIN output connectors. Nothing surprising there….

But what are those grey plastic tubes?

These are in fact acoustic chambers that provide back pressure to the ribbon, changing it from its natural figure-8 pattern towards being hyper-cardioid. It is also critical to the microphone’s sound – if you make an M260 without one, it sounds pretty awful.
There is one more important ingredient to the mic, and that is a piece of string. This is stuffed into the chamber to break up internal reflections. Sometimes simple works!