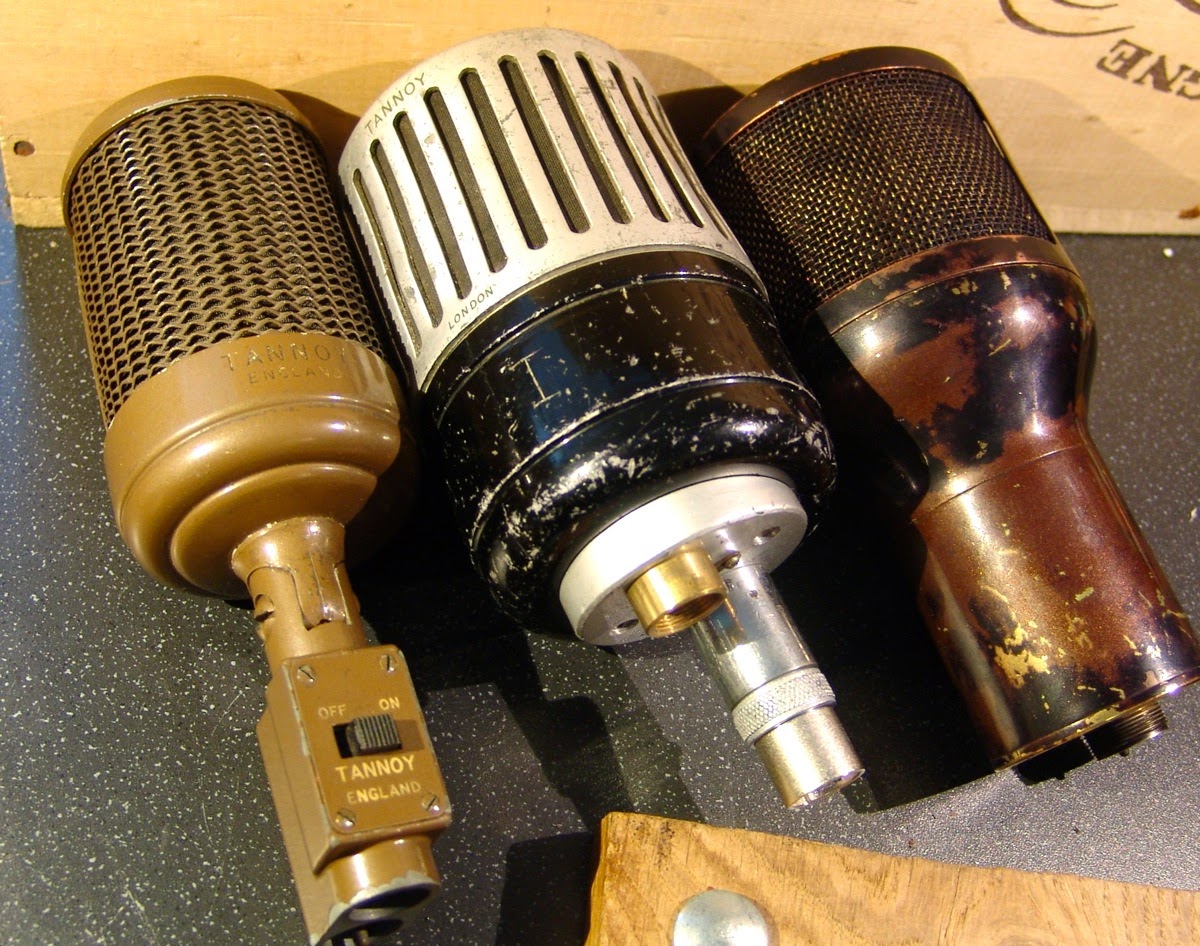
The STC 4033 cardioid microphone was a stalwart of British broadcasting and an early solution to the the challenge of making a cardioid directional mic. The 4033 contains both dynamic and ribbon elements, and in cardioid mode the microphone blends the two transducers together via a capacitor and inductor – you can read more about the filter and switching circuit at the wonderful Coutant.org website. The mics are still quite popular with some recording engineers, but of course there are no spare parts available after half a century or so.
 |
| Omni and Figure 8 suming to a cardioid pattern – from SOS website |
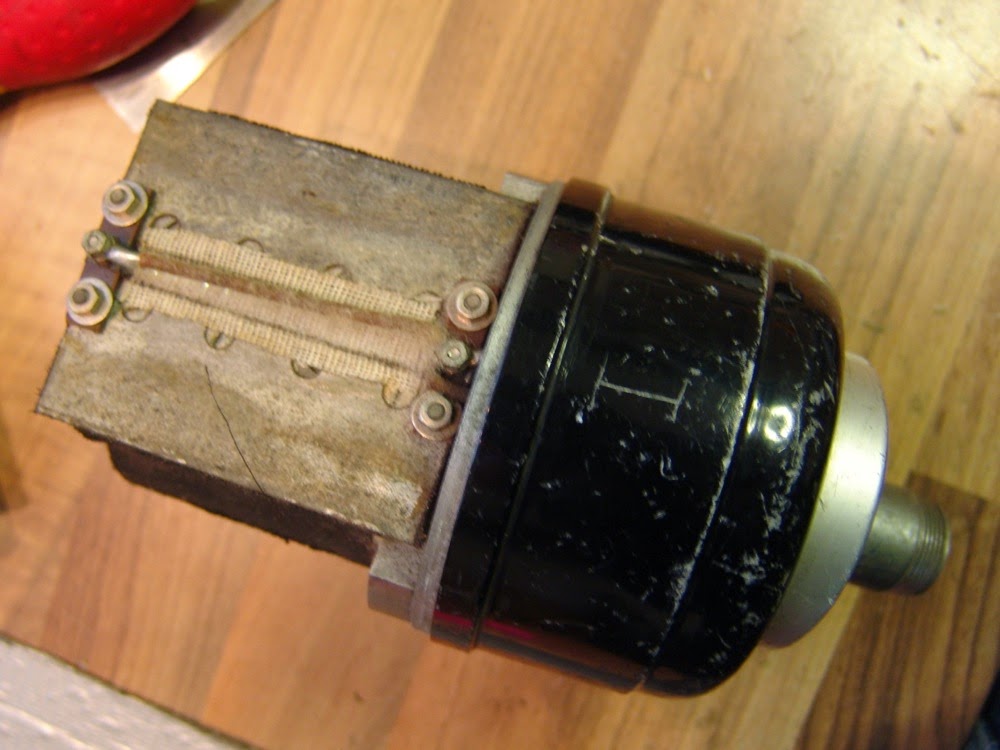
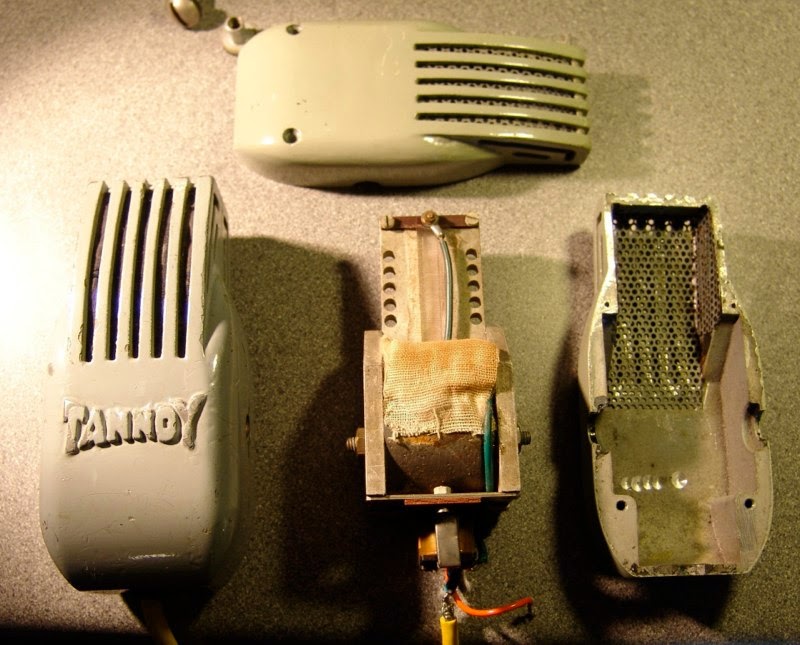
I was recently asked to repair a 4033 with a cracked bottom bell, which is made from some kind of zinc alloy. When I took the microphone apart it became clear that the casting had collapsed into several pieces, only held in place by the rest of the microphone. The job looks like a challenge, and we like a challenge.

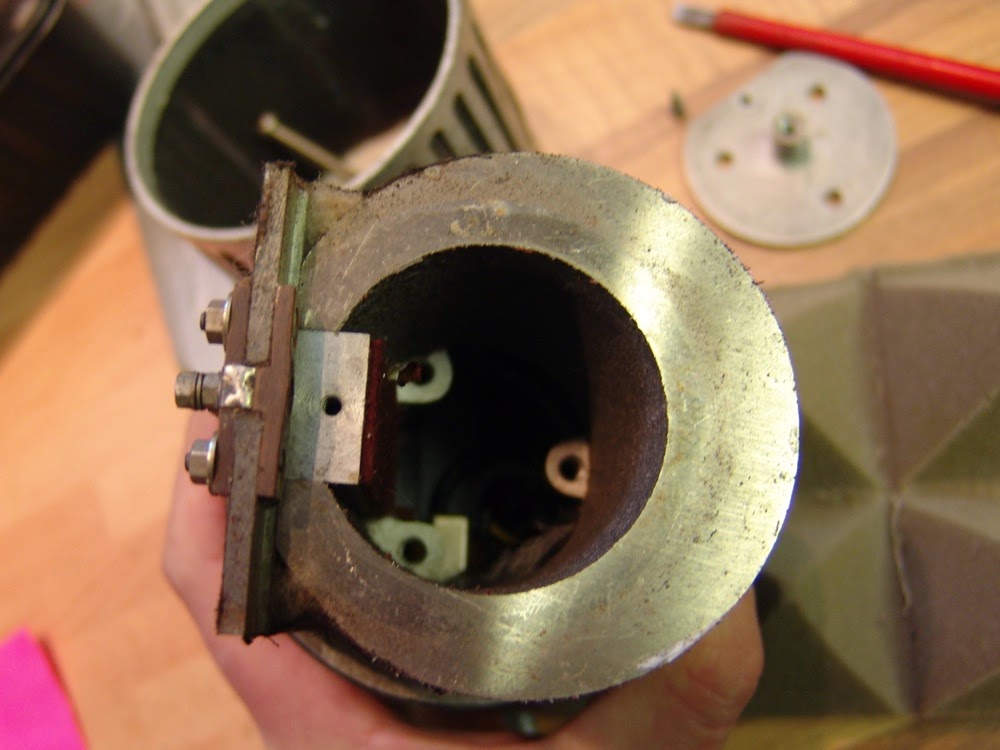
It isn’t clear how this became so damaged but it is possible that the alloy itself was at fault. Zinc Pest is a notorious cause of failure caused by impurities in zinc alloys, particularly those from the 1930s and 1940s. Like this one.
The alloy is pretty much impossible to solder or weld back together, and I don’t believe that any glue would be strong enough to hold when the mic is bolted back together. A new part is required but impossible to find, so we need to make one, or at least persuade somebody else to make it. Metal casting requires specialist skills and equipment, so I asked Abbey Casting to copy a good part from another 4033, and they did a fantastic job to produce this part in bronze.

The raw casting needs various holes drilling and tapping, but with a little work we have a perfect fit.

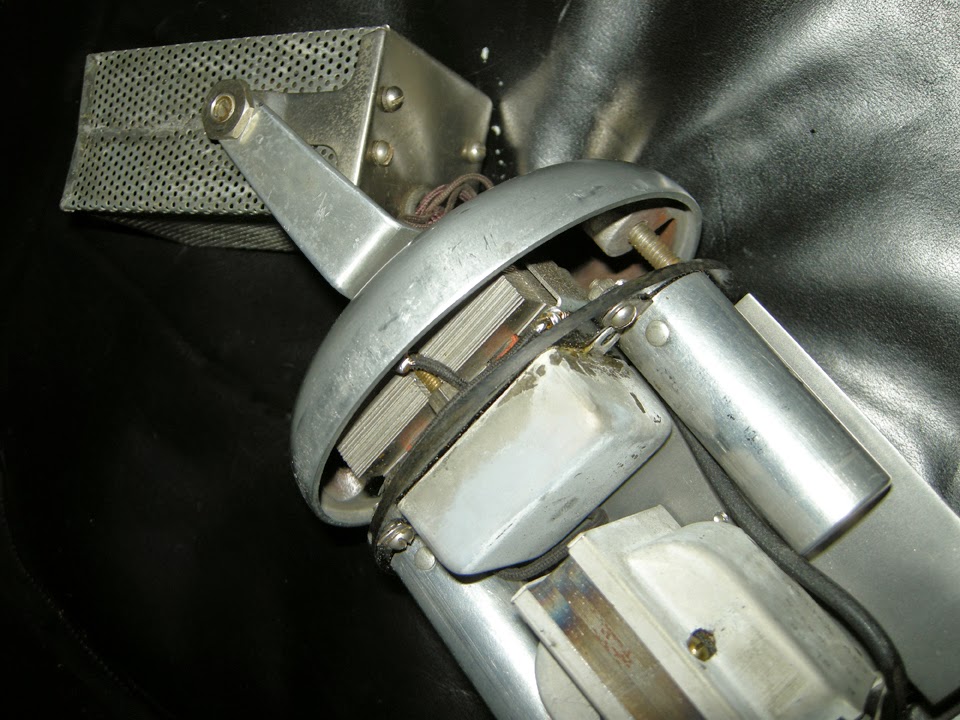
The 4033 is not the easiest thing to work on – everything is tightly packaged and the transformer is set in wax into the stem of the mic, so I had to use a hot air gun to dismantle it. Whilst the mic is apart it makes sense to replace that Hunts capacitor* with a nice NOS Mullard, and re-solder all the old joints to lower noise and improve future reliability.

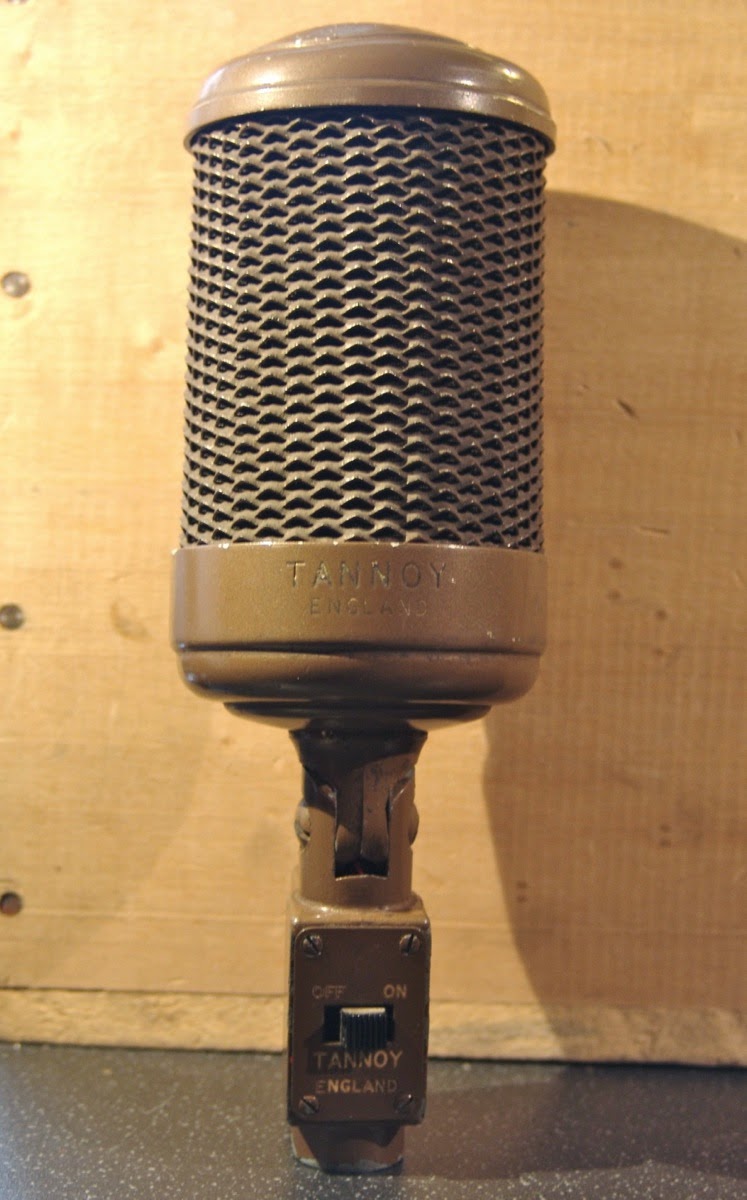
With the new part in place I can put it all back together again. The casting could be painted or powder-coated to match, but in this case the owner prefers to see the bronze. These are 50 ohm microphones and work nicely with our impedance matching transformer boxes.

Thanks to Liam at ToeRag Studios & Richard at Abbey Casting.